The Virtual Art Studio shows you how.
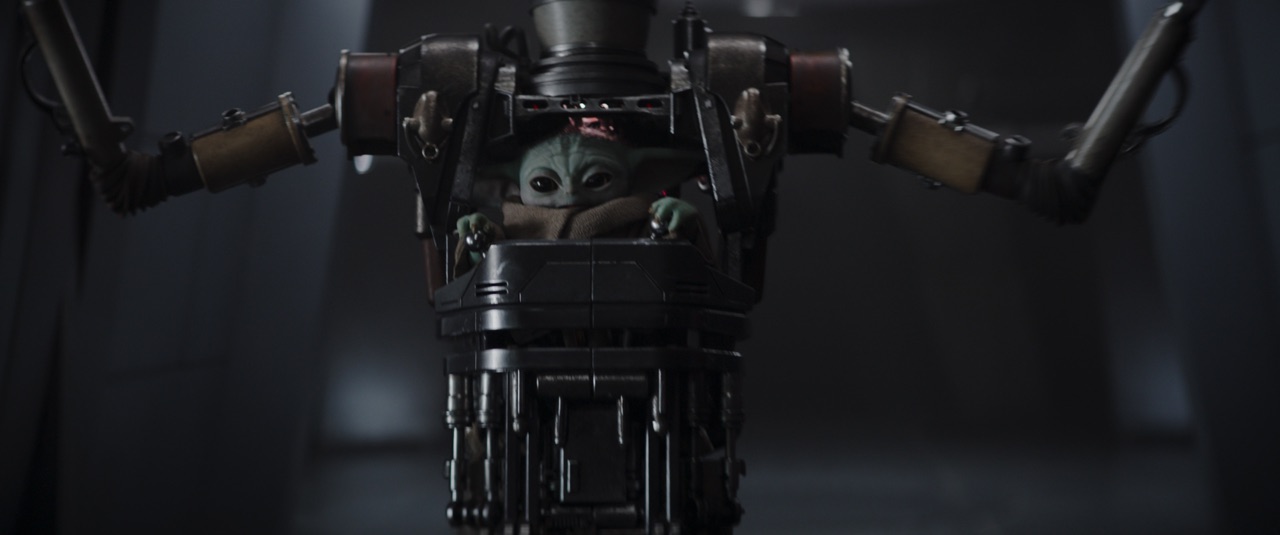
If you’ve seen The Mandalorian, The Call of the Wild or Greyhound, then you’ve seen the work of Happy Mushroom, an LA and New York-based studio that has made its mark in the delivery of real-time virtual environments with Unreal Engine and its own custom workflows.
One of Happy Mushroom’s established workflows relates to turning photogrammetry-scanned assets into assets that can be used for virtual production, including for previs purposes or on LED wall stages. That’s exactly what the studio did for season 1 of The Mandalorian.
Here, Happy Mushroom initially came on to help prove that Unreal Engine was a viable option to achieve realistic real-time lighting and that it could handle photogrammetry assets. The studio ultimately became the principal prop scanners on season 1, crafting a workflow that allowed for the ingesting of props, rocks and similar items acquired with photogrammetry as CG assets into the virtual production pipeline for digital props and virtual sets.
The important factor here was maintaining a high degree of fidelity and providing a blueprint for the production, along with establishing a workflow that was fast, where creatives could decide how far to take the assets based on the shots that were needed.
To find out more about the workflow Happy Mushroom follows to do this, befores & afters talked to Tripp Topping, lead artist in the studio’s photogrammetry department. He broke down how a typical asset would be scanned, solved, simplified and then finally ingested into Unreal Engine 4—you’ll see both a rock asset and a hare/tortoise asset used as examples.
1. The scan
We use a Sony a7R IV, a 60 megapixel camera, to take photogrammetry stills. If it’s a controlled lighting prop, you can use a 90mm prime lens and you can get incredible detail out of that. We also use drones to capture photography. Sometimes this is all coupled with a Lidar scan, and here we use a Leica rtc360. Then we use their software, REGISTER 360, to do any clean-up.

2. Color correction and photogrammetry solve
We use Lightroom to color correct. You want to color correct the images because the program they will all be going into is RealityCapture, which relies on color values from the images to see what goes with one another.

We bring the images into RealityCapture, where you align the images and generate a model. I usually create a model that has 40 million triangles because RealityCapture can only let you view 40 million tris at one time.

4. Dealing with the mesh
From RealityCapture, I export the mesh into ZBrush. I typically duplicate the original scan here because you don’t ever want to have to get rid of that thing, just in case something happens. I will Dynamesh it, but first I use Decimation Master; sometimes ZBrush doesn’t do a good job bringing in a straight scan for Dynamesh to read correctly.

After that, I will clean up the asset, fixing any of the projection errors. From there, I will typically duplicate my cleaned-up asset. So I have two of those now. I’ll take the second one and I will decimate master it again to a lower polycount. And then I will go ahead and UV mesh that to a pretty low count, probably 15,000 polys.

Then I’ll project back onto the high-res one—my original hi-res clean-up—just to get all the shapes back. I will do that over and over, re-project it, to get a displacement map from it. Within that workflow, I usually UV in ZBrush first, but just to unlock normals and soften edges, I will bring it into Maya and maybe fix some UV’ing in there.
4. Baking textures
I bring the asset into Marmoset for all of the baking. Then I bring all of the maps into Substance Painter, where I usually de-light. You can also use Agisoft De-Lighter. In Substance Painter, I’ll paint out any texture re-projection errors and things that were in the scan but that I had taken out in ZBrush.

Once I have the base color cleaned up, I’ll bring the base color into a program called Gigapixel AI, an A.I. upscaler. It looks at all the sub-pixels and makes guesses about blurry areas to clean up—it does a really good job.

We then throw that into Photoshop and make a hybrid map. We’ll bring the up-res’d version into Photoshop and then in filters, there’s a 3D mesh output. Then you bring that again into Substance Painter to get even more detail from that map. It makes the mesh look a lot better.

5. Readying for Unreal
Then I’ll do a reference pass in Substance Painter, say with four layers of roughness for creases—all based off the base color map. I’ll use bitmap masks to determine where exactly the roughness goes. After that, it’s exported from Substance Painter into Unreal Engine. And you’re done.

The aim is always to keep as much real life fidelity as you can when it’s going into 3D. Whenever you’re taking pictures, no matter what you do, you’re going to lose something when you turn it into a 3D mesh. So this pipeline was made exactly for that, to get some of that fidelity back into the assets.
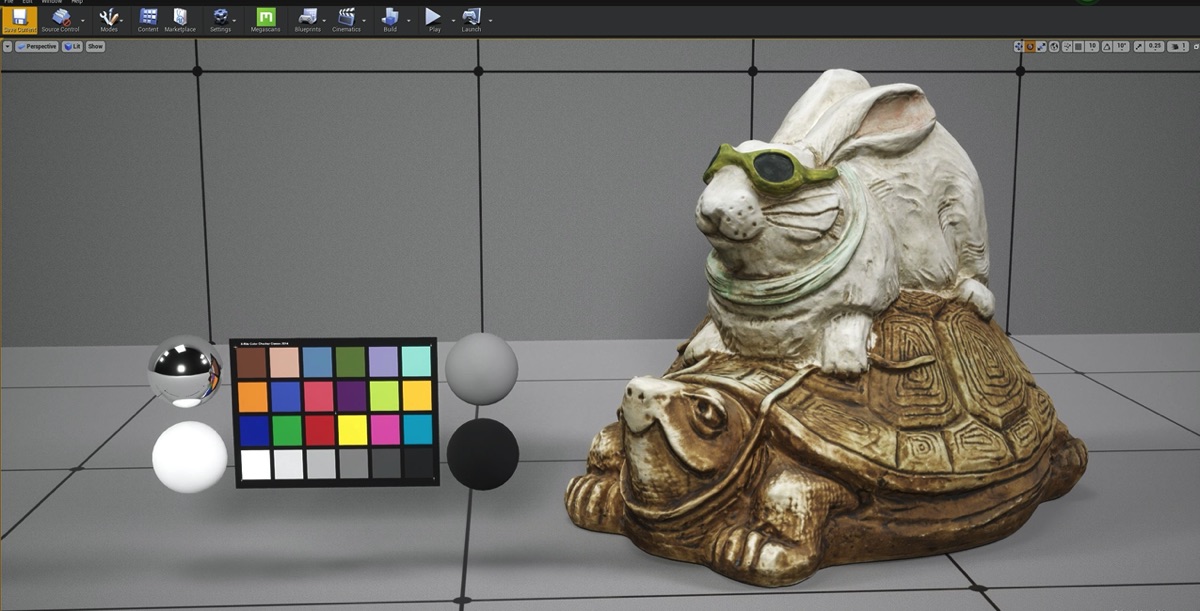
So, there you have it. That’s a relatively brief look at Happy Mushroom’s workflow for getting photogrammetry assets into Unreal Engine. You can see more of the studio’s work at their website.

