Lidar, shooting panos and textures 3 times a day, and closing the Bridge for just 2 minutes at a time.

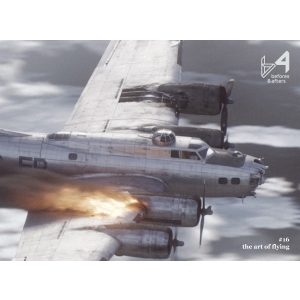
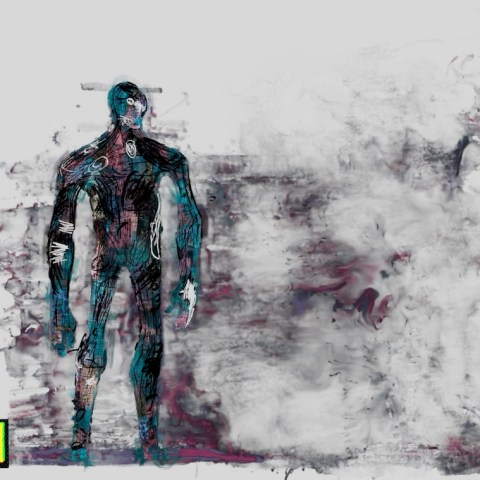
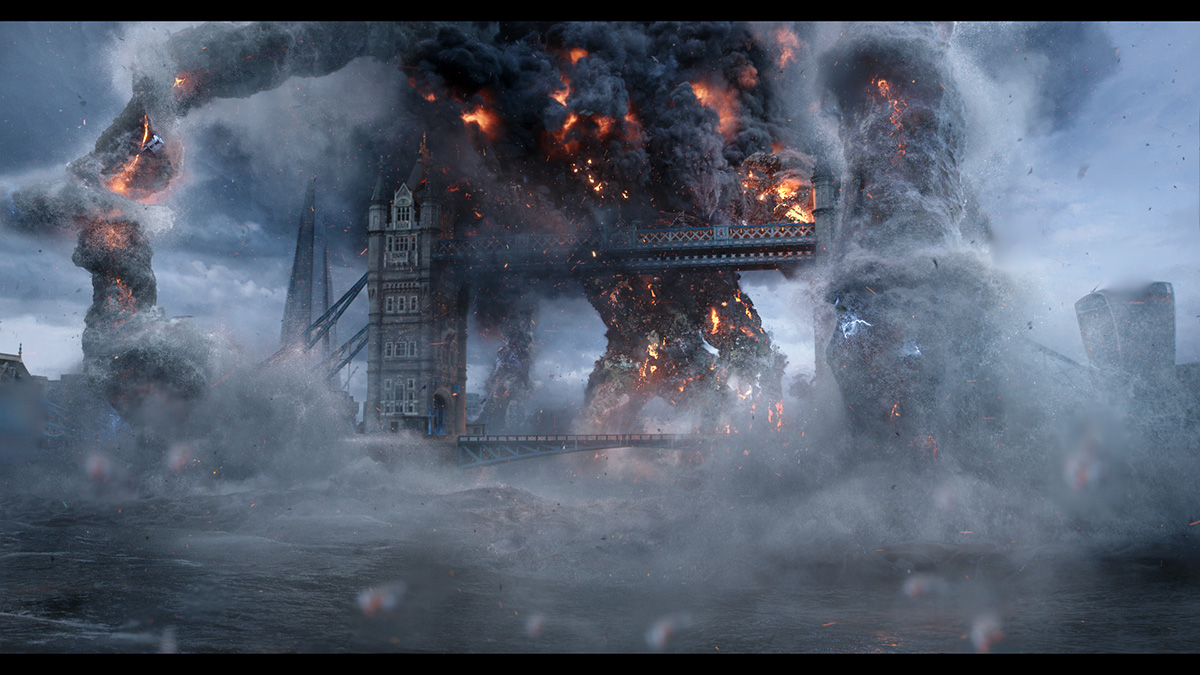
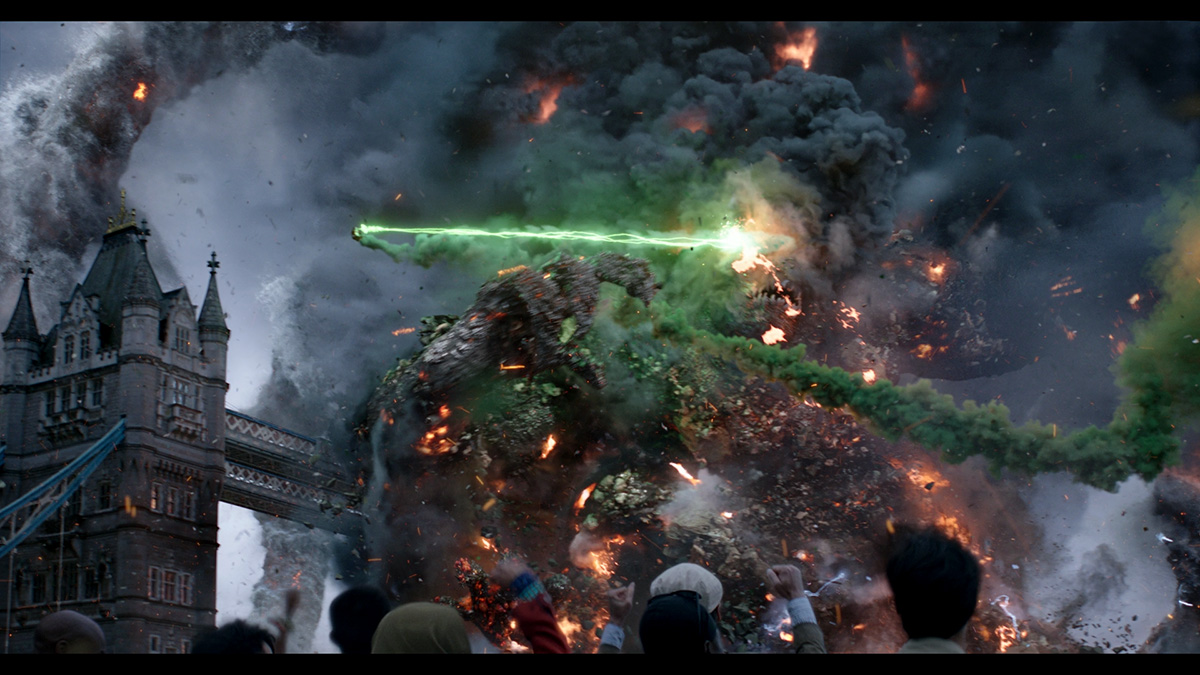
In the final act of Spider-Man: Far From Home – spoiler alert – the fake Elemental conjured up by Mysterio and his crew appears at the Tower Bridge in London. Spider-Man is able to infiltrate the illusion, including its destructive drones, and takes on them and Mysterio around the area.
The final shots would feature live-action photography, and significant digital environments and effects simulations from Sony Pictures Imageworks. To help make Imageworks’ shot ‘sit’ in the plates and to deliver the most dynamic scenes possible, the film’s visual effects team embarked on an enormous effort to replicate the surroundings digitally.
This involved the use of Lidar scans, extensive reference photography and a huge model and texture build. befores & afters asked Imageworks VFX supervisor Theo Bialek how that real-world replication and build process occurred, including about the toughest parts of shooting reference and what unexpected challenges lay ahead in the building of a bridge.


Deciding where to use live-action, what to build (and dealing with changes)
Theo Bialek (visual effects supervisor, Imageworks): We looked at the previs, and we thought, ‘Okay, well, this one can be plate shot. We’ll shoot this one on the set, and this one maybe we can shoot tiles for at a real location.’ And then we knew going in there would be changes. So, we said, ‘Well, since we’re here, we’d better shoot a bunch of over coverage, just in case.’ At the end of the day, the changes were so significant that the vast majority of the shots required to do them all CG.
What was filmed
On set, they had a backlot with a roadway surface for the Bridge. It was really just the railing on the side of Bridge that they constructed for one segment of the Bridge. The thought was that they could then just redress it and say, ‘Oh, now we’re on north side, or now we’re on south side, or now we’re on the center.’ That was the idea. Of course, it was not ideal, because the real bridge has differences between each segment, so anytime you tried to do a set extension of that, it didn’t really work because that really was only built off the center segment.
They also built on set a glass walkway that was similar to the real one that’s on location. They purposely left out certain details. The walkway has a double layer of trusses that would have obstructed the views a little bit.
10 days of acquisition
When we went on location, we did a pretty extensive acquisition shoot – it was 10-plus days of acquisition. It meant getting up at 3 in the morning, driving out to Tower Bridge and getting an early start before traffic comes in. Every time we’d go one of these days, we’d have an area where we would say, ‘Okay, this is what we’re going to do today. We’re going to scan this area. We’re going to photograph texture stuff. We’re going to photograph reference. We’re going to photograph pano-tiles.’
We’d do that three times a day because the lighting needed to be ideal from every angle. The predominate light source is the sun and it’s always moving. And sometimes if you set up your camera and it’s the wrong time of day, the sun’s going to be blasting everything you look at from the front and it won’t look very pretty.


So we shot in the morning, early morning when the sun was rising. And then we shot in the afternoon when the sun was not directly above us, but at a little bit of an angle. And then we shot in the late afternoon around three to five. And that way we could ensure that every time you went and did acquisition from that area, we had lighting reference at all those different light angles. The thought was that if we shot plates or tiles, we could choose the proper angle of light later on.
Production predominantly handled all of that. They had their own team. They had their own internal team that would do a bunch of references. They also brought a film camera, because then we could shoot tiles with the actual film camera. So they had a camera operator, a grip, and then the actual cameraman. And then they had, in addition to the production visual effects supervisor, Janek Sirrs, they also had a second unit visual effects supervisor, Jesse Chisholm. And they also hired Clear Angle Studios to do the Lidar scanning.
We shot in so many places: on the Bridge, from the Shard, City Hall. We shot on the embankment of the Tower of London. We shot on the banks of the River Thames. At low tide, we went down to the rocks and shot all around there, which was a terrible experience to be walking amongst the rocks at low tide. And then I shot on a boat that we we motored a boat around the Thames under the Bridge. We shot from a helicopter twice. Once in principal photography, and then I went back again and shot it for another sequence that came late in the game, which was the jet sequence where the jet flies toward the bridge and Spider-Man jumps off.
Shutting down the Bridge
We’d get there in the early morning, and they would shut the Bridge down for just two minutes at a time. They’d shut it down and then a guy on a bus, the same bus that’s in the film, a red bus, got on top with a film camera. And we drove across the bridge with traffic shut off, so we could try to mimic shots and get footage there. And then every time we shut down the Bridge, we would send a Clear Angle guy sprinting out onto the bridge, shooting tile reference. On top of that, we also had a couple days where we just walked along the bridge itself and just shot locations. But that was during normal business hours and people were walking across.


Terabytes of data
It was pretty extensive. Land, sea, air. It was everything. It was just terabytes of data. For the Lidar scans, Clear Angle combined all that stuff and then they gave us the model. We used that model to help us build the environment. We can’t render those things directly, because they’re too dense and it needs clean up, but there’s really no way to actually exactly model that with the same speed without having the Lidar scans. Now, keep in mind they’re also shooting panos three times a day and shooting texture references. So there’s just an enormous amount of data to catalogue and go through. It’s actually one of the huge challenges – once you get all that data, you’ve got to make it accessible to all the artists.
One of the things that they did was every time they would walk the bridge, every ten and five feet they would do a full pano were they would aim the camera down, rotate around, then raise up the camera, rotate around, then tilt it up. So you’d make this 360 ‘Google Street View’ kind of thing. Inside of Nuke, we could then create almost a map of the bridge, just with a backdrop in there. We make a visual representation of the bridge and set up these macros so that an artist could just go look at a simple map of the bridge, like a graph of the bridge, and then click on an area that they want to see where we took the reference. And then they could look around, just like a Google Street View. They could zoom in, zoom out, because they were shot at high res.
Building in CG
We built essentially a block area in 3D around the Bridge. All that area was built as 3D, so that when we have our big camera moves flying by, we don’t have to resort to matte painted projections.
In CG, of course, you’re never done. You can always iterate and add detail. You can always zoom in and add more asymmetry or anomalies to make it more realistic. So the general rule of thumb is you look at the scope of the shots you have and you say, Okay, I should build this asset to cover 80 percent of the shots I know I’m going to have, and the rest of it I should probably leave some time and resources available to upgrade once I get into the shots so that there is time and money allotted to accommodate changes that we know are going to happen. Because a lot of time, things are going to pop up in a shot that you didn’t account for, because you can never know all those variables that are going to happen in a shot.
We’ll take a plate that was shot and then we’ll add different distances to the bridge in different key areas. And then we’ll put our CG environment in there and flip between the two. We try to get our CG to match within that to a level where, as a casual viewer just looking at our CG image, doesn’t know that that’s CG. And that was the level that we brought that asset up to. So we have a far shot, a medium shot, and a fairly close shot. We just kept iterating on those key spots until the CG held up on its own. Of course, if you flip between the real one and the CG one, you’d start to notice the issues or the differences, but if you didn’t have them to compare to, you wouldn’t be able to notice.


The hard parts about building a bridge
One of the traps we fell into was saying, ‘Oh, it’s a bridge, it’s very symmetrical. So you can flip it. You can build a quarter of it and then flip it, and then flip it again and then you’re good to go.’ But that bridge has so much asymmetry. I suppose there’s been a lot of repairs over the years, and there’s just differences in the size of it that you don’t notice at first glance.
And then when you build it and you mirror it, and even though you add in some asymmetry by default, it was just like, ‘It doesn’t look right.’ Then you flip it between the plate. You know, you’d matchmove and compare it to plate, and you’d flip it back and forth and you realize, ‘Oh, yeah, we can’t really mirror this part of the bridge. We’ve got to build this out.
This week at befores & afters is #gettingshotsdone week. Find out how several productions are getting shots done with a range of different methodologies.