An ‘in the field’ shot done with the new After Effects tool.

It’s been a few months since Adobe officially launched its Content-Aware Fill for video feature in After Effects. VFX artists will of course already be familiar with the need to remove unwanted objects from scenes; Content-Aware Fill is designed to do this somewhat automatically, as it does in Photoshop, but for moving images.
I was curious about how the feature was being used ‘in the field’, and then I stumbled across a demo video from Sydney-based compositor Chris Zwar who had been working on a shot of vehicle driving down a road that would need to be replaced by a CG van. He’d used Content-Aware Fill for video in After Effects, plus a few other tools, to handle the replacement, so I asked him about he approached the work. Here’s how he broke it down.
b&a: What was the background to this van shot you worked on? Where is it from, and what was your brief for the shot?
Chris Zwar: Roughly a year ago a friend of mine asked if I’d be interested in doing some vfx shots for a short film – he’d been approached but was too busy. The edit had been locked off, and there were roughly 30 shots that needed some work – some very simple, others more complex. I jumped at the opportunity to do more vfx work, as so many After Effects jobs are motion graphics. I’d agreed to a capped budget as long as the deadline was flexible, so I could experiment in my own time without delivery pressure. I did the bulk of the work in an initial two week period, and continued to refine and tweak a few shots over the next few months.
[perfectpullquote align=”right” bordertop=”false” cite=”” link=”” color=”” class=”” size=””]I was really surprised at how well the result worked, especially as I hadn’t done much work by myself.[/perfectpullquote]
The van shot was not in the original edit as it had been deemed too hard. The shot was a very simple pan of a van driving past, but for whatever reason the real van wasn’t available. They’d filmed the plate with a reference vehicle, always intending to render a digital van. At the time of the shoot, a vfx guy had taken loads of photos of the real van and intended to do the shot via photogrammetry. But, as happens so often with short films, the original vfx guy dropped out and disappeared. He left behind a few hundred digital photos and a couple of screenshots of the van in a 3D app, but no project files.
With all the other vfx shots finished and only color grading to go, the director began to regret scrapping the van shot. So much work and effort had gone into making the film that it seemed a shame to leave out one shot. I could tell he’d rather have it back in. There was nothing remarkable about it, just a simple left-right pan of a van driving past. No fancy sci-fi weapons, just a basic cutaway to help tell the story. I could tell the director really wanted it, so we just sort of agreed that we’d do it. It seemed like a fun challenge and there was no pressing deadline.
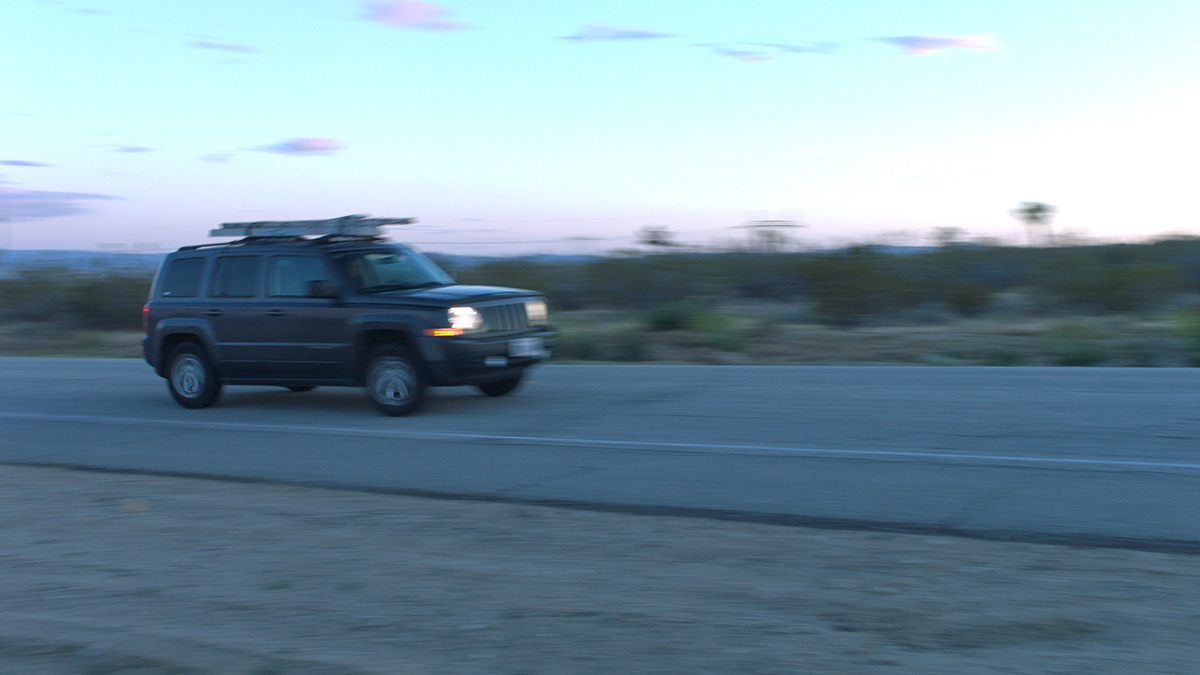
I always knew that the shot would be heavily graded for night and possibly sped up. The point was to finish the film with no regrets.
One of my work colleagues – Roy Christian – agreed to help, and found a 3D model of the van for sale online, at Hum 3D. The tricky part was camera tracking the shot, which looked simple but wasn’t. It had everything that makes it difficult for 3D camera tracking apps – it was a tripod pan with a zoom lens, the pan was almost 180 degrees and the footage was very blurry. I was able to sharpen the plate using Reel Smart Motion Blur to remove some motion blur, and then I used SynthEyes with lots of manual tracking points. After tinkering with the shot now and again over a period of weeks, suddenly SynthEyes gave a result that was usable. Roy had adjusted the model of the van to match the reference and rendered it out of Maya using V-Ray.
b&a: What made you decide to try out the content aware fill capability Specifically, how did you use it? What other tools also came into play?
Chris Zwar: Adobe had just released the latest update to After Effects, which included the new content aware fill. It was heavily promoted. As someone who writes After Effects articles for the ProVideo Coalition website, I try to keep up to date with the latest features and I’m always paying attention to After Effects news. So as soon as it was launched, I was looking for time to play with it and see how it worked.


Now that I had a 3D render of the van to work with, I began to look at the rest of the shot. I knew I’d have to clean up the original plate to remove the reference vehicle, although because the 3D van was being composited back on top I knew it wouldn’t have to be perfect. I’ve done a lot of cleanup work for various TVCs, and generally I use a combination of Mocha and After Effects. Mocha has been bundled with After Effects for about 10 years, but the integration has been vastly improved recently. It’s now much easier to use Mocha from inside AE than it was a few years ago. But generally, it wasn’t any different to the sort of cleanup work I’d do for a TVC.
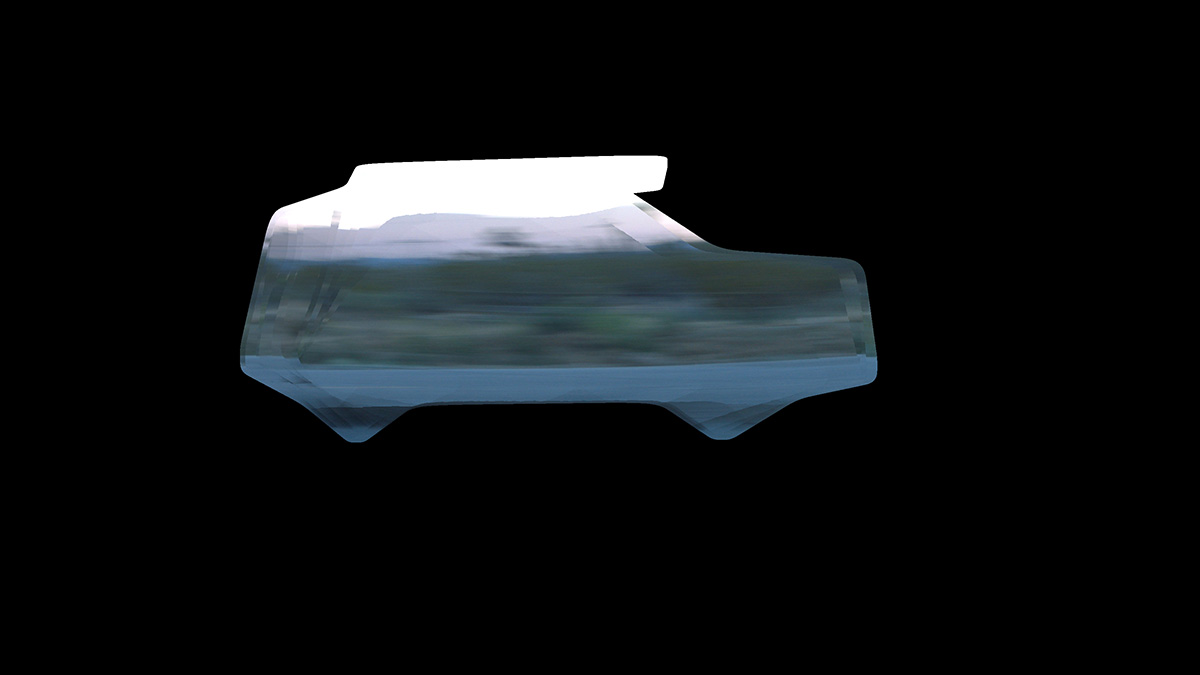
When I sat down to start the composite, Mocha tracked the van very quickly and easily, giving me an animated mask in a few minutes. I knew that content aware fill just needed a mask shape, so I thought I’d see how it worked. I just set it up with the mask from Mocha and then let it go. The processing took about half an hour, working at the 3K resolution of the background plate.
b&a: Were you happy not/happy with the result – why or why not? How might you have tackled the shot without that capability being there?
Chris Zwar: I was really surprised at how well the result worked, especially as I hadn’t done much work by myself. The middle 30 frames had a few artefacts, but the start and end of the shot was great. Because there was so much motion blur during the middle of the whip pan, I was able to add some simple directional blur to the fill, which just smoothed out the artefacts. A bit of blur fixed everything. Again – if you go through the cleaned plate frame by frame there are some areas that aren’t 100% perfect, but you’ll never see them once the van is composited on top, and everything is graded for night.

The real takeaway from the shot is how quickly it was done. If it wasn’t for Content Aware Fill, I’d be manually painting and stitching together a clean plate from different frames. Overall, the process took about an hour, but if I had to do it manually then it might have even taken a day to get it to the same level.
Once the plate was cleaned, the van was composited on top. I added lighting and lens flares with After Effects. Trapcode Lux was used to creating volumetric headlights, but they didn’t look great by themselves. I asked Roy if he could render out some true volumetric lights in Maya, which helped a great deal. By adding some lens flares on top the lighting felt a lot more realistic. The final grade was being done in Resolve, so I wanted to leave latitude and detail for the colorist.
b&a: What do you think may be other shots in the future where it could come in handy?
Chris Zwar: My first impression is that even though content aware fill might not be 100% perfect immediately, it provides a great starting point. I think that in many cases it will be faster for an artist to start with a shot that’s been cleaned with content aware fill and then clean up any artefacts.
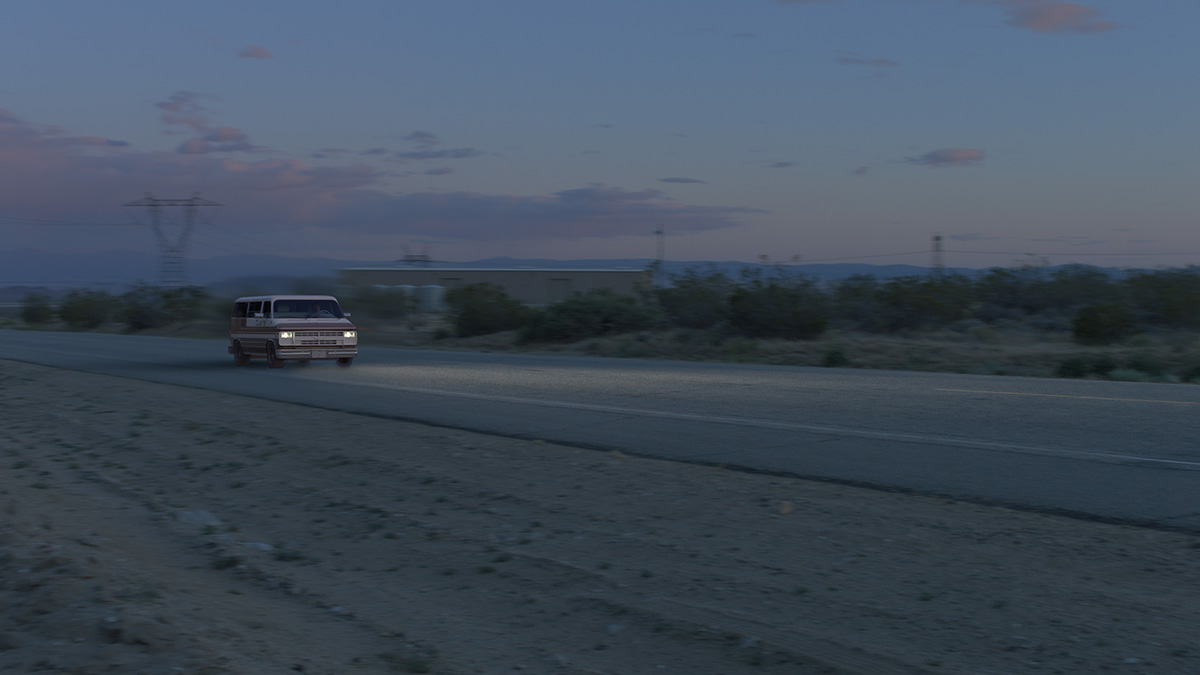


A lot of the cleanup work I do for TVCs focusses on small details in the background rather than big problems in the foreground. Things like security cameras, water damage, buildings visible through windows, ugly signage, billboard ads or other things in shot which the director or client would prefer not to be there. Content aware fill has the potential to make these small fixes very painless, and even if it doesn’t fix every problem perfectly first time, it will probably end up saving loads of time.
b&a: Can you give me a brief history of your own work in post and VFX?
Chris Zwar: My first job was as a non-linear editor in 1997 because the university I went to had bought an early Media 100. It came bundled with After Effects 3, which I’d never heard of until I started using it. I quickly became an active member of various online communities – initially the Media Motion email list for Media 100 editors, then the Creative Cow. I went freelance in 2005 and moved to London, and after a couple of years, I realized no-one had hired me as an editor, only for After Effects. I realized I enjoyed using After Effects much more than editing, and have been working as an After Effects specialist ever since. Since moving to Sydney I’ve gained a lot of experience in events and large scale building projections, but traditional composting is what I really enjoy.
Check out more new VFX tools in our #vfxtoolsweek series, including the Eddy NUKE plugin and the terrain generator Gaea.









Nice work brother! Love the breakdown.